Thursday, February 7, 2013

Thrifty Thursday Giveaway: Coupon Challenge!


Would you like to win this gorgeous St. Patrick's Day wreath made by Kansas Gal? (DIY to be featured the end of February) Enter this week's Thrifty Thursday giveaway challenge! Read on to learn how...


Last summer I had a serious addiction to the TLC show "Extreme Couponing." I couldn't believe how near free all of their grocery purchases were! My first reaction was to call my fiance (at the time - we are married now) and ask him if we could invest in a larger apartment with storage space for my extreme coupon endeavors. But I gave myself a few minutes to digest this information and reflected on a couple of things:
  1. They have to buy ALOT of products to save near 100% on their grocery bills
  2. Most of the coupon goods are not foods I typically eat - I try to eat lots of fresh food
  3. Fresh produce are not typically included in coupon deals
These three observations led to a much more sane thought: maybe I can save a little money with coupons. Alright! I tested my weekly clippings last 4th of July (I know this entry is a bit belated) by planning my meals around my clips. 

4th of July Week Grocery List
-Johnsonville Turkey Sausage with cheddar
-whole wheat hot dog buns
-tortillas
-1 pound peaches
-Dole salad kit
-Baby carrots
-A1 steak sauce
-Sunbelt Banana Oat Fiber Cereal
-1 Gallon Milk
-Vegetable/Fruit Juice
-New Capri Sun Vegetable Juice (apple flavor)
-3 avacados
-almonds
-1 pound chicken breast

Total (without coupons): $35.77
Total (with coupons): $28.77

Since then, my husband and I have tried to use coupons to at least inform partially our meal planning and to save some money on groceries and essentials. It would be interested to track how much we save from now on...I think we will do that! OKAY!!! Here we go!

ANNOUNCING: THRIFY THURSDAY READER CHALLENGE! 

Steps to enter:
2. Share this post Facebook or Twitter
3. Clip coupons and go grocery shopping sometime before Thursday 2/14 - Valentine's Day - and share your savings with us in a comment on this post! 

A winner will be drawn at random, announced Sunday February 17.

Wednesday, February 6, 2013

Wedding Wednesday: Rustic Mason Jars

One of my favorite crafting projects to date has been planning and designing our wedding. I enjoyed every moment of making our dream vision become a reality. During the next month I will be featuring some of the projects that we made for our October 2012 wedding.

We got married at the Weston Red Barn Farm in Weston, Missouri. It was a bit chilly, but hopefully in a cozy way :) Our goal was to create elements that communicated "rustic, comfort, and charm."

I loved everything about our color pallet - deep red and brown. My bridesmaids chose mismatched dresses in the same color family. Some were a bit different shades, but I think it worked!


We wanted the reception to glow from how many lights were in the space. And so we arrive at this week's "Wedding Wednesday" project: Mason Jars! I thought of the idea of using mason jars covered with lace, burlap, twine, anything rustic looking, and then using small battery tea lights to make them glow. Here is a look at the table, you can see the jar to the right of the floral arrangement - these were all over the tables!


The first step to this process was finding miscellaneous jars of all shapes and sizes. I probably spent 100-150 dollars on this, plus the cost of the battery operated lights - which are really not that expensive if you use amazon and ebay.

Here were some of the results (all pictures were taken by Kaitlin Colston Photography - she is AMAZING!!! Hire her yesterday! www.kaitlincolston.com)


Each jar looked a bit different, just like the bridesmaids dresses...


We used twine and lace!


Pretty, huh? Next Wednesday I'll show you all the plates we collected - each place setting was unique and gathered from various antique/thrift stores.

Tuesday, February 5, 2013

Served On My Table Tuesday: Fish Tacos

Jim Gaffigan wrote a hilarious tweet the other day (if you don't know who Jim Gaffigan is, hit up youtube after this.)


Amen, brother. Amen. I LOVE mexican food, but it's not always economical to eat the amount of Mexican food that I desire, particularly when I want to go to my favorite restaurant, El Patron. So some nights you make it at home. Here is my fish tacos recipe. Enjoy!

Ingredients (prepared for 2 - double for 4, etc.)
  • 2 Tilapia Fillets
  • Low-carb mission soft taco tortillas
  • Refried beans or black beans
  • Tomatoes
  • Salsa
  • Shredded cheese
  • Greek yougurt for a healthier version or sour cream
  • Taco Seasoning

1. If you bought fresh fish, luck you! Skip this step. Thaw tilapia in a bowl of cold water for about 30 mintues or until not frozen anymore.


2. Preheat oven 350 degrees.

3. Season the fish - I use a blend of about two tablespoons from the city market that is specifically for tacos, but you could use any taco seasoning.


4. Bake fish for about 15-20 minutes or until fish flakes when you take a fork to it ;)

5. While fish is baking, prep your toppings. Warm up those beans, mix about 4 tablespoons of greek yogurt (or sour cream) with 2 tablespoons salsa for a healthy, zesty topping (put in refrigerator until you're ready to eat), chop up tomatoes, warm up the tortillas or grill them - whatever your preference.


6. Pull the fish out, flake with a fork like so:


7. Assemble!


Yummmmmmmm!

Monday, February 4, 2013

DIY Monday: Valentine's Wreath

I love decorating my apartment door. My husband and I moved into an amazing downtown Kansas City loft building after we were married in October. It's such a fun community. Everyone has dogs, they're all pretty nice, and occasionally think I see Royals or KC Sporting players in our building...which is awesome.

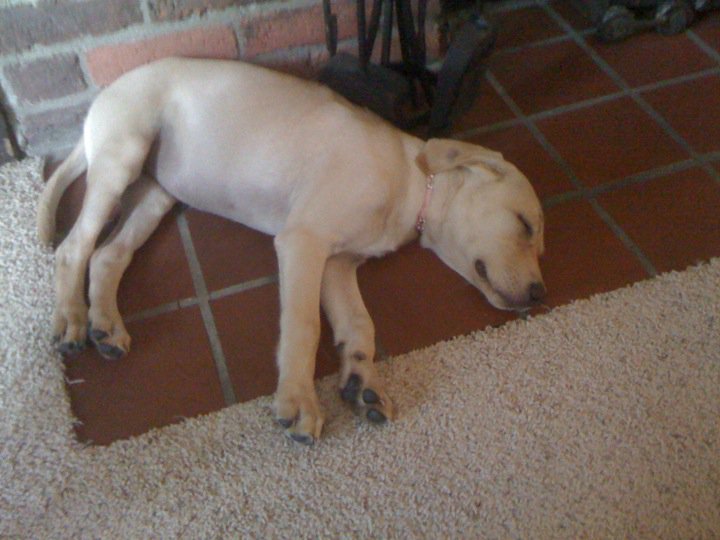
Here's our puppy, KC at 4 months - so cute, right?


aaand then she grew up and got huge, here she is at a year. She's still cute. Just huge. (PS. Isn't my husband hott?)


Okay, so back to the DIY Valentine's door deck/wreath/whatever you want to call it. This is so easy and fun to make.

Supplies:
Cardboard/paper mache block letters (2 X and 2 O) - I bought mine at Hobby Lobby, but JoAnne's and Michaels have them too. I found mine for 1.99 each.
Small craft paint - I used one metallic fuscia and one metallic white - I bought two, but one was more than enough
Craft brush of some kind
Hot glue gun and glue
White ribbon

Directions

1. Paint your letters. Be sure to give them several coats to cover the cardboard. I did not paint on the backside but you are more than welcome to!

2. Glue ribbon on back of top letter - see picture - tip: be sure to put PLENTY of glue over the top of the ribbon to keep it flat and ensure that the letters don't swing once you hang them.


3. Glue letters together - obviously glue letters in-between each other, but also on the back like so:


4. Hang and enjoy! Tip: I used double sided command strips to keep the letters close to the door and not flopping around every time we open and close.


Sunday, February 3, 2013

Happy Sunday!

Happy Sunday! This Kansas Gal blog will be a lot of things, mostly DIY and crafting experiences, but some will be about life in general and going on adventures. The weekly schedule will go something like this:

  • DIY Mondays: a craft or DIY project
  • Served On My Table Tuesdays: a recipe or meal planning or coupon-ing tip
  • Wedding Wednesdays: a DIY or inspirational photo. Warning: these will most likely be rustic or country wedding ideas :)
  • Thrifty Thursday: money-saving tips and tricks
  • Pinterest and Follower Fridays: the best pinterest finds of the week and recognizing followers. Any giveaways will be posted on Fridays
  • Shake Yo Booty Saturdays: I love exercise. I am a runner, pilates-er, and right now trying out Insanity. Will be sharing tips and great workouts OR a great adventure!
  • Happy Sundays: Uplifting thoughts, introducing the topics of the week, announcing giveaway winners for the previous week.

Welcome and I hope you visit again soon!

Up next DIY Mondays: Valentine's Day wreath!