Showing posts with label Crafts. Show all posts

Monday, January 11, 2016

Top 3 Ways to Tackle Craft Supply Storage

I wish I had a before picture to show you because my craft storage was ridiculous. It was like a toddler had tried to organize my craft supplies...wait...

Anyway, this space needed help. This was my failed attempt to prove to my husband that I need an entire craft room. I thought surely all this crap wouldn't fit on the one dedicated wall shelving unit for craft supplies. I was wrong.

Here are my top 3 fail-proof suggestions for tackling craft supply storage, sure to keep wives everywhere from having a dedicated craft room. Get organized!

#1: Install shelving


My husband installed these shelves the week we moved into our home (two years ago) and I'm just now organizing them. I think we got them from Home Depot for around $15. Easy to install and heavy duty!

#2: Pick-up a few Dollar Tree clear plastic containers and bins


I bought several Dollar Tree containers (spent maybe 10-15 bucks) plus a set of drawers from Target (about 6 bucks) to organize tape, glue, paper, pens, scissors, etc., and it was a wonderful decision. I created labels out of my scrapbook paper and attached with simple scotch tape.

#3: Purchase a few square canvas  containers


These are kind of expensive, which is why I have four and why only two of them are the really nice faux leather ones. I keep extra outlets and electrical supplies in one of the leather ones, sketchbooks in the other, current projects I'm working on in one of the cream color boxes, and fabric and felt pieces in the other.

I've seen a lot of convoluted ways of organizing craft supplies, but this method is 3 steps and takes up one wall space in the house.

Next on the agenda for this office/extra bedroom space is a makeover. Watch out for a future post on this room redesign. I'm going to attempt to sew a duvet cover.

XO,

Erin

Wednesday, December 30, 2015

Kansas Gal Crafts Gets Organized!


Hello, lovely readers!

It's been awhile, I know, and I've missed you. I'm glad you're here, though!

Happy New Year - almost! I thought this was a good time to hit you with some of the changes I'm implementing this year.

Budgeting and Meal Planning

I know. I'm basically Martha Stewart. (Please, please think I'm Martha. Except no jail time, but really I don't care. I love her anyway!)

We're hoping to purchase a house in 2016, so we're pinching pennies wherever we can. That means we have to run a tighter ship budget-wise. All of this is connected to staying on top of weekly meal planning and shopping and bill paying (etc., etc.. etc., all the boring but important stuff).

My best friend here in Chico and fellow mom of a toddler AND an infant (she's a superhero), Michelle, started a spreadsheet with meal ideas and make-ahead items for us and another local mom. This was so helpful in creating a database of meals to choose from each week.

I also have a recipe box with display holder that has become useful in planning meals and keeping it organized by day. I just put the recipe cards in order of days of the week and change the order as the days go by.


All of this was working nicely, but I kept leaving things off of my grocery list, or missing a day of the week, and not realizing it until the night would arrive, only then, elbow deep in toddler poop, would I scramble (eggs, literally) to come up with dinner options.

I needed a new planned with a meal planning insert!

I love my Erin Condren planner for teaching, but spending seventy plus dollars for a family planner seemed crazy. So I set out to make my own. I used MS Word and created this gem using a font I downloaded online! It cost me $15 at Office Depot to print and bind like a notebook. AWESOME.


Spending less on stuff and investing in friendships

This one is hard for me because well, shopping. Not the friendship part. Or, at least I hope not. I love shopping and I'm constantly seeing things that I "need". Plus, I work part-time in retail and it's nearly impossible not to take advantage of my discount.

Plus, well, shopping, okay?!

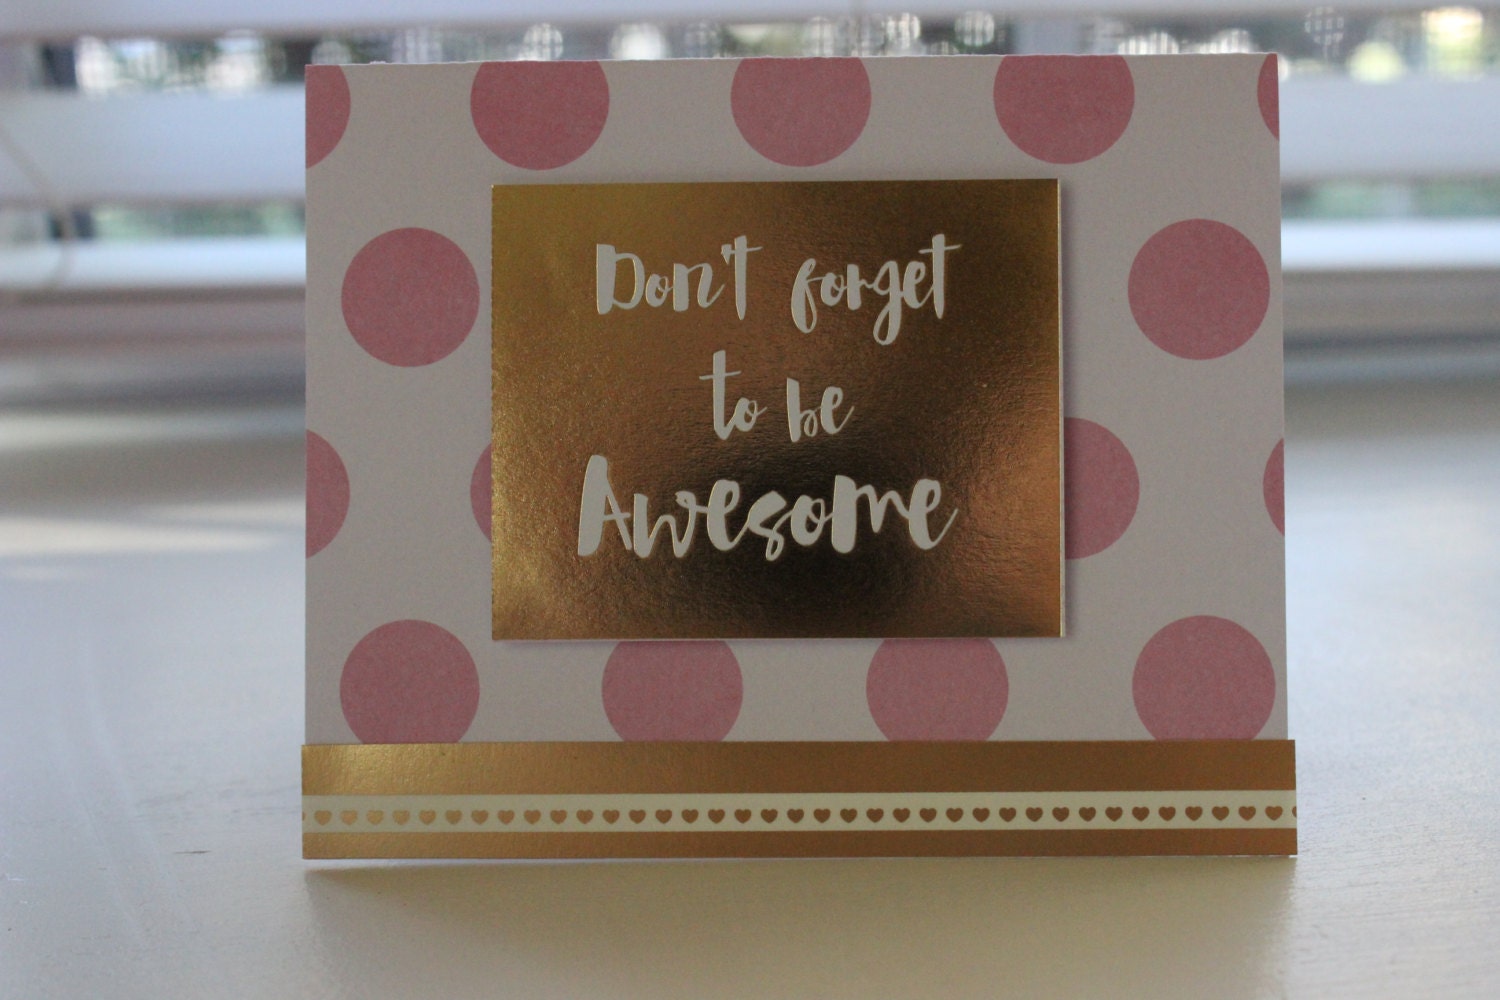
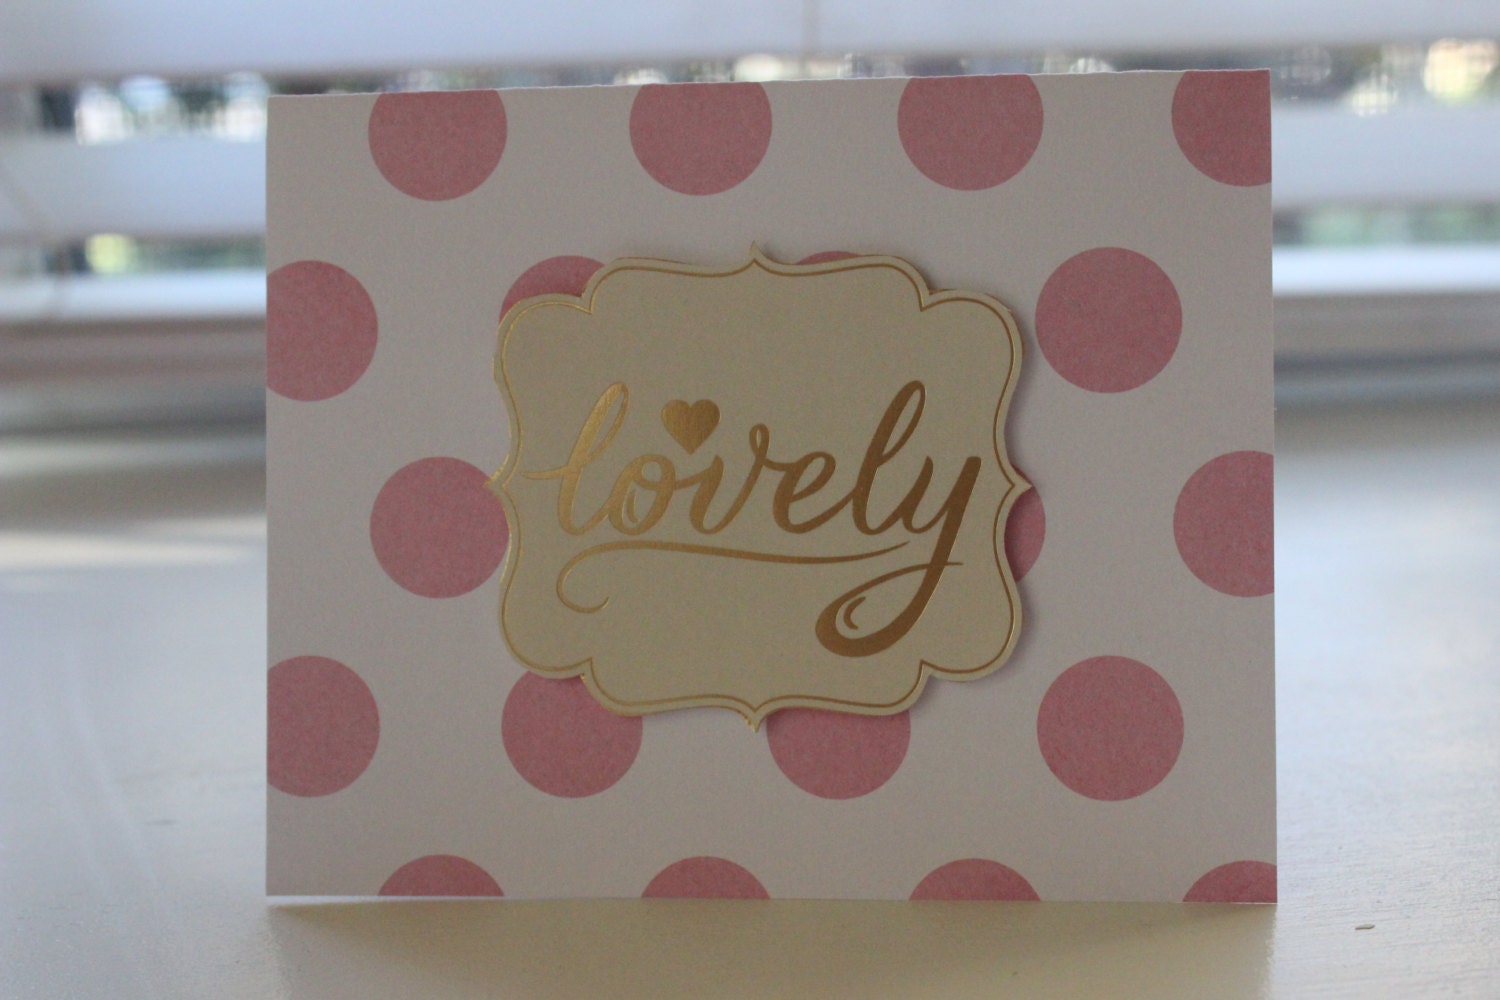
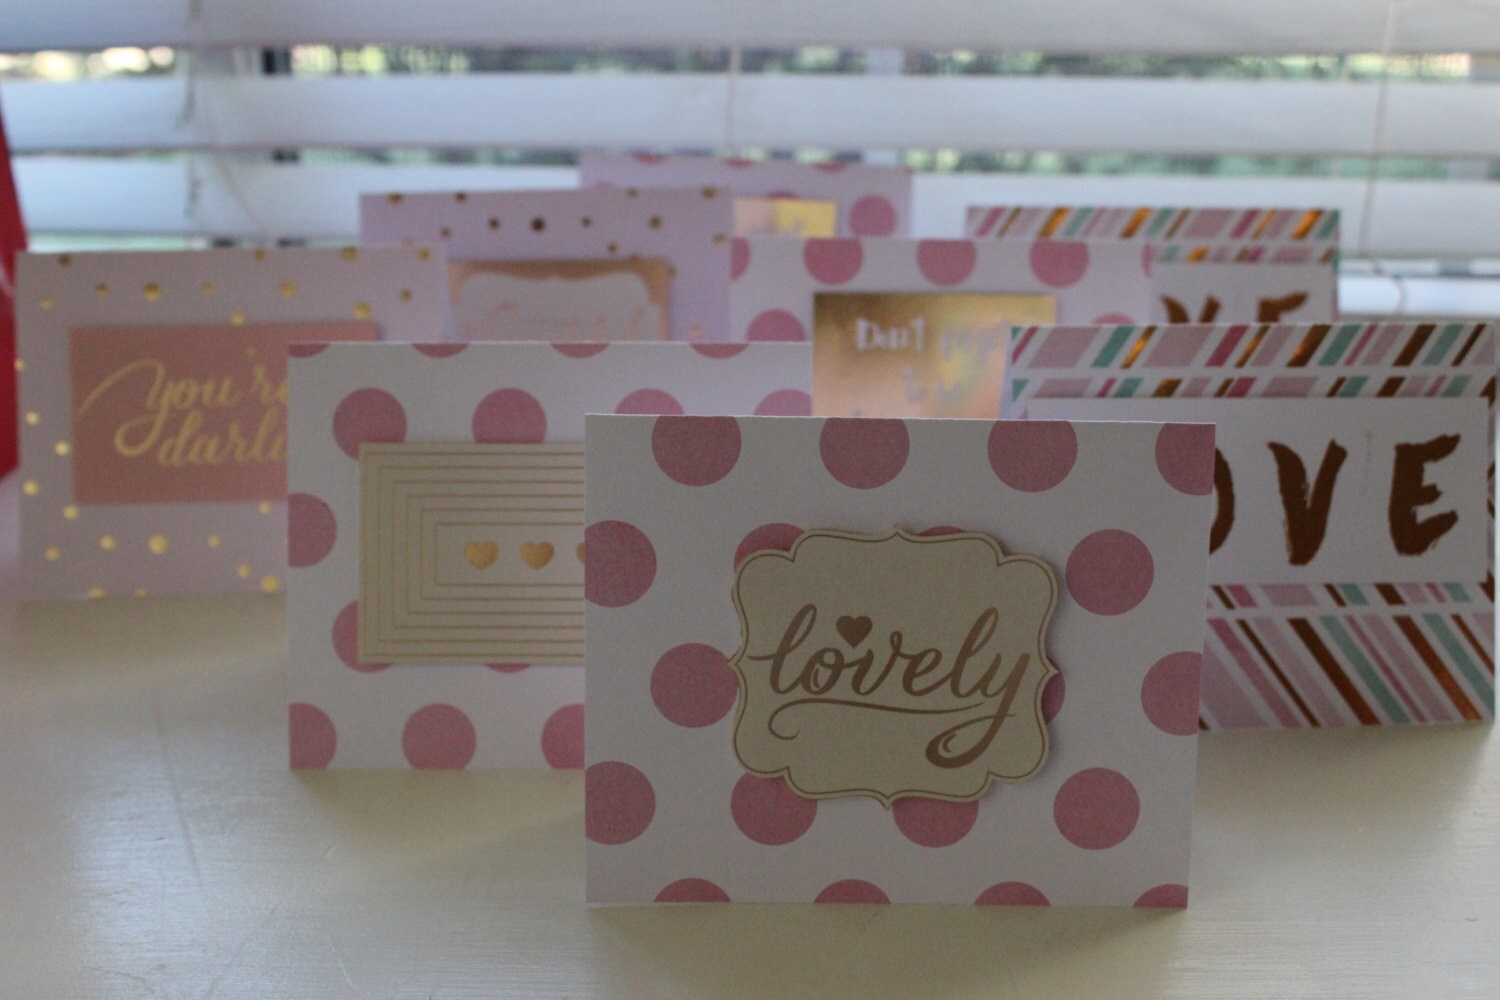
I discovered a way that for me is going to be really fun to avoid "stuff" that I "need" (don't need). Card making. (What is she talking about!?) I know. This sounds crazy. But it's actually been quite a fun way for me to spend my time during naps doing something productive, with pretty "stuff", making crafts, which I love, and thinking about my friends I'm going to give them to.


I made one set of Valentines cards.


And then I couldn't stop. I ended up with close to 80 cards in 2 days. I was a maniac, so I put the ones I don't plan on sending out on Etsy. You can buy them here: https://www.etsy.com/shop/ErinKHorst?ref=hdr_shop_menu

An old school alarm clock...and no night time cell phone use

My husband bought me an old school alarm clock so that I won't look at Pinterest late at night before bed...and during the middle of the night, at 4 am, and when I wake up. The phone has now been annexed to the kitchen at bedtime and can't come out until I peel myself out from under the covers.

FREEDOM!

I'm excited for a wonderful 2016 full of family and friends. What are your resolutions?

XO,

Erin

Thursday, May 2, 2013

Sewing Lesson #1

Lesson #1: Be sure to leave enough fabric beyond your stitch

Here's a fun story that demonstrates the importance of the above-mentioned lesson. Recently, my husband and I took a trip to visit his family in Orange County that happened to fall on Easter weekend. I had just completed my super cute blue dress and was so excited to be going somewhere warm to wear it.

Easter Sunday rolls around and I have two blue dresses that I packed for the occasion. One of the blue dresses I brought was the one I recently had sewn (below). I always pack a  few options so that I can have some wardrobe choices while I travel. I went back and forth about which one to wear all morning. I felt like I would be showing off a little if I wore the one I made, but then again, I was proud of it and was excited to wear it, so I ended up settling on the idea that it wasn't showing off, but wearing something that I had made with my two hands - and that's cool!


And cute, right?!

So we get to Easter church service and it's just a wonderful morning. Seeing Kyle's family and church friends is always a warm experience. Worship was beautiful, music led by Uncle Gary, and the whole family was there. Awesome!

And then some lady sitting behind me taps on my shoulder...she says, "you may not want to stand up again." I have this blank look on my face. She explains, "There's a hole in the back of your dress." I reach back, and sure enough, I feel a massive hole right over my butt crack. True story. Seriously, right. over. my. BUTT CRACK. The terrifying realization that I had been exposing my bottom in the sanctuary rushed over me. I was horrified. I took my husband's suit coat and wore it out of the building, walking (running) out as fast as I could.

So, sewing lesson number 1: leave enough fabric beyond the stitch so you don't flash all the nice people at church.


Tuesday, March 26, 2013

Monday, March 25, 2013

Hey, I think I could make that!

I sort of randomly decided I would start making my own clothes. I was getting new tires and wasting some time at JoAnne's fabric - wait - excuse me, I never WASTE time at JoAnne's, it is always time well-spent. Okay, I was spending some quality time with my friend JoAnne and saw this gorgeous blue 100% cotton apparel fabric.


I found myself picturing the fabric as a dress and I just dove in. Before I knew it, I was at the cutting counter getting a couple yards and browsing the patterns. I used a basic a-line pattern and tweeked a few things (like the width of the shoulders and length from the natural waist - I think my changes made it a bit more young-looking). Here is the finished product with a belt:


And here it is without the belt - I know it looks huge on the hanger, but it looks pretty adorable even without the belt.


If you like what you see, I am selling the dress online in a variety of sizes on my etsy store.

Wednesday, March 13, 2013

Wedding Wednesday: Brooch Bouquets

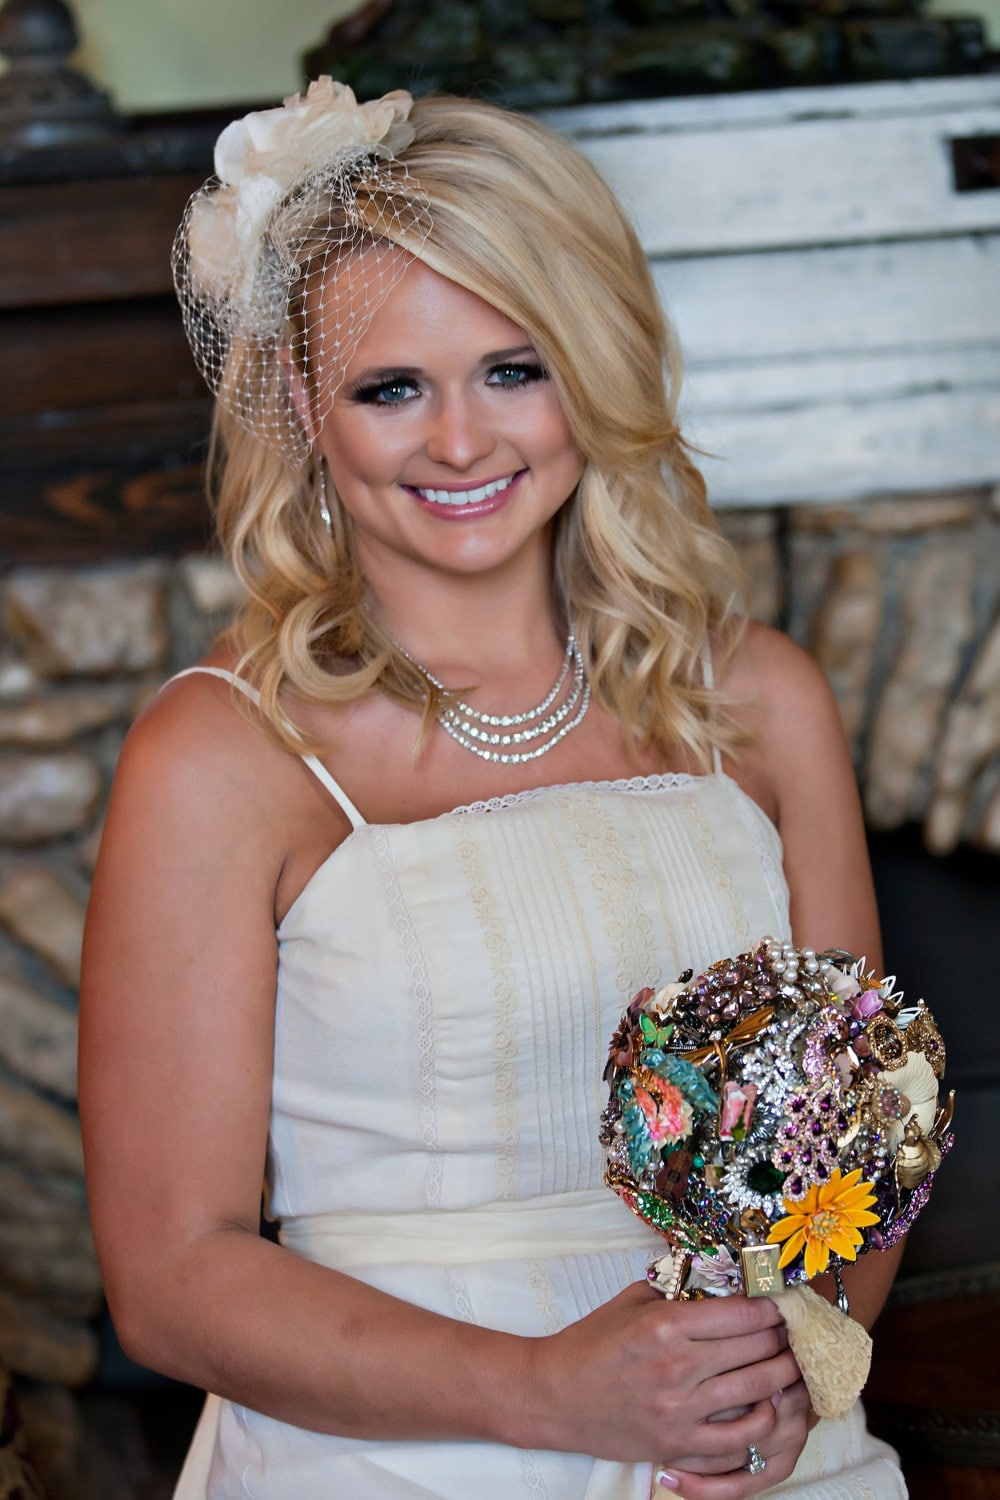
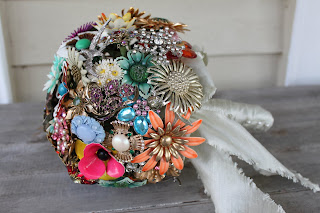
A few years ago, I saw pictures of Miranda Lambert's wedding and became intrigued by the idea of making a brooch bouquet.


Isn't it adorable? After seeing more and more pictures, I fell in love with the idea and knew I wanted to use one for my own wedding. There are plenty for sale online, but I had several family jewelry pieces that I wanted to use. Every single piece incorporated was a family heirloom. Sigh. Love!


I wanted to make sure all the brooches stayed in good condition and that I could take the bouquet apart safely if necessary, so I rigged the brooches up on long pieces of wire, wove them through a white doily stiffened with fabric softener and a balloon, and then gathered the wire to create the base. I covered the base with lace ribbon and a hankie. You can kind of see the doily in the photo above behind the brooches. I forgot to take pictures while I was making it :-/ 


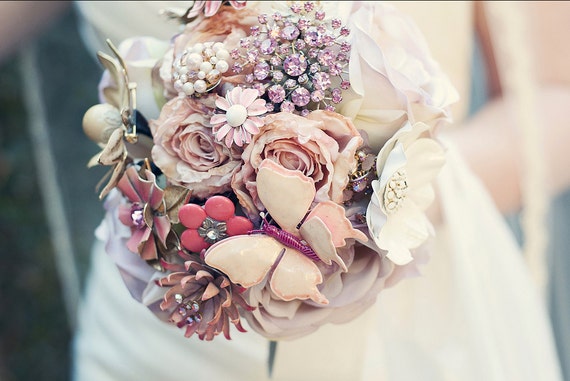
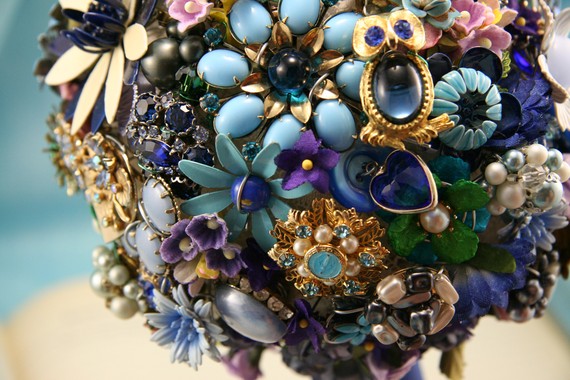
Brooch bouquet round-up! 

Here are some other photos to inspire you if you are thinking a brooch bouquet might be in your future:


Monday, March 11, 2013

DIY: Living Room Window Treatment

Since moving into our loft in October, I have been dying to install a unique window treatment in the living room. Originally I hoped to hang curtains from the top of the window (which is something like 20 feet). I discovered very quickly that curtains for large windows are expensive.

So I waited and waited for great sales to pop up, I researched curtain prices, and kept an eye out for a good deal. It didn't really come along until one day I decided it had been too long since I last used my sewing machine. I took my JoAnne's coupons, decided to bite the bullet and buy some fabric.

I thought yellow would be a really nice accent color for our living room. I think I've mentioned before that we have a modern/Americana theme going. There is a check blue couch centered between our windows. Yellow is bright and it's different - exactly what I wanted.

Here is the fabric I found (6 yards total, 3 per panel, approx $40):


Isn't it cool? It's got three different blues in it, turquoise/navy/and almost a cornflower blue, plus peacocks and hummingbirds, and yellow! I bought 2 yards of navy for stripes and 4 yards for the main portion of the panels (for a total of two curtain panels).

Now I don't have a sewing cut board thingy, so I laid the fabric out in our bedroom, decided where I wanted the stripes to be and just cut with a 90 degree ruler. It took a lot longer than it probably would if I had better supplies. 

After cutting the fabric, I sewed the pieces together, hemmed the sides, and sewed a larger hem at the top to put through the curtain rod. Here is the result:


I was happy with them. But mad that after all that work and buying 40 bucks worth of fabric, two panels only covered the ends of my windows. Don't get me wrong, making curtains is pretty easy and fulfilling, and yes, they are pretty, but I also wanted curtains for a functional purpose - privacy. So I went back to looking around for better options.

I decided to buy roman shades or wooden blinds to replace the aluminum and give it a more cohesive look. But while I was shopping, I ran across some pretty white sheers for $5 each at Walmart. I ended up buying 4 of those instead, an extra set of curtain rods (for the sheers) and put those up. 

Here is the final look! I am very pleased with the result.


Wednesday, March 6, 2013

Wedding Wednesday: Program template

Hey readers! Another template for you! For our programs, I sewed them together with a scrapbook page for a cover. I used lace and burlap to embellish the cover, too. All the photos were taken by Kaitlin Colston Photography (gorgeous!)

Click here to view the template in google plus - be sure to download it to see it in its TRUE form with the right fonts/styles.


Monday, March 4, 2013

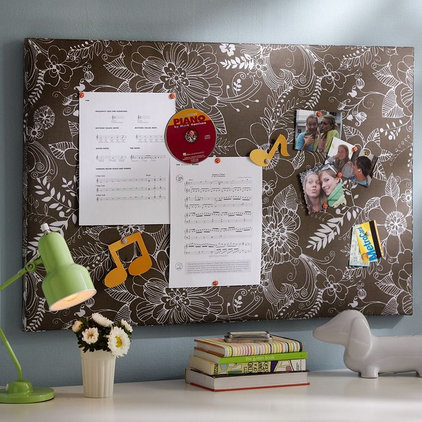
DIY: Fabric covered cork board

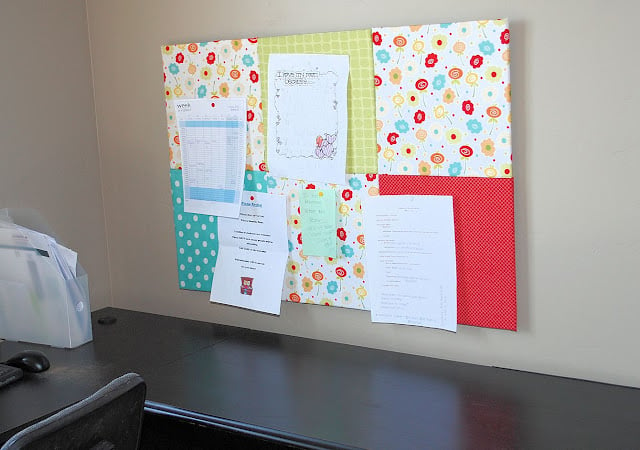
A few weeks ago I ran across a great blog called Anne the Adventurer. I absolutely recommend reading her stuff - she does awesome projects and is just adorable. The project I ran across was her DIY  Chevron Bulletin Board. I had to try it.

My office area is at the front of our loft and I couldn't stand the ugly grey box that was right above my desk. I also couldn't stand how messy it was.


Before I jump into the step-by-step, I did a couple things different from Anne the Adventurer. First, I used foam board instead of plywood. Since the grey box is that thingy that you need to access in case you blow a fuse (yeah, I'm good with mechanics), I knew I needed to create something lightweight that I could take down and put back up if needed. The second thing I did differently was use hot glue instead of the wood glue. It dried instantly and I literally finished the project in a half hour. Third, I used rolled cork instead of old cork boards. Finally, I used velcro adhesives to mount the board to the wall, again so that I could pull it down and put it up easily.

We have an Americana-type feel to the front of our loft so I chose a red starred, light brown, and navy fabric. Here are the steps I followed.

1. Iron the fabric

2. Attach the rolled cork to the foam board using hot glue.

3. Line up the fabric where you want it to be on the board - mine had lines on it and I didn't want them to be crooked.


4. Drape the fabric on a clean surface (I used a stool since we have a doggie and no matter how much we vacuum her hair is EVERYWHERE). Place the foam board on top of the fabric and hot glue in place, pulling the sides tightly over the cork board.


5. Mount on the wall - like I said I used velcro adhesives.


Round-up! Here are some other bloggers who have made these types of boards:


Friday, March 1, 2013

Kansas Gal's Mom!

I'm switching up the order of this week's posts. Instead of follower Friday's, my mom joins us today as a guest writer! :-) Here's a picture of me and my mom:


From my mom:


"Ever since I can remember I have always loved to work on crafty stuff.  When I was young, I would constantly coerce my dad into building something I saw on television or to help me recreate an idea from a picture in a beloved book.  He could literally make anything from pieces of wood and a few tools!   And when my daughters were little girls, we always had something we were trying to build. 
Whether it was a Barbie wonderland on the front porch or a float in our driveway for a parade, the fun part was in the doing.  So, even though my dad has been gone for some time and both girls are grown, I still enjoy the “doing” of a good project. 

I found this desk at First Saturday in the West Bottoms.  


It was $80.00 and although that seems like a lot for an old desk, it was exactly what I was looking for to use as a buffet in the dining room.  Plus the owner said she would deliver the desk to my front porch.  That sealed the deal!  I sanded the desk, painted it with paint I already had, and bought pink knobs for the drawers from Hobby Lobby.  


By the way, Hobby Lobby has a wide variety of knobs always on sale for half price. 


My second project last week was a little chest of drawers that I bought at an auction for 22.50.  


I used a can of turquoise spray paint and 4 mismatched knobs for the drawers (again from Hobby Lobby).  


Basically for my efforts, I gained two awesome up-cycled pieces of furniture and had several hours of fun!"

Thanks, mom! These projects are SO cute! Now you see where I get it :-)  

Wednesday, February 27, 2013

Wedding Wednesday: Free Menu Template!


My husband and I got married at the Weston Red Barn Farm in Weston, Missouri. We placed one of these menu cards at each place setting. Please feel free to use and print for your own use. Click here to download.

Notes about the template:
  • The template is set-up for 5.5 by 8.5 - meaning you could cut your 8.5 X 11 paper in half and print at home. The page layout in my word is called, "Statement." 
  • The google document loses the font selections, so be sure to actually download it and open it to your computer. The cool font should show up again once you download. Should you have any trouble, I am happy to email it to you.

Enjoy :-)